
Jenkins CICD 单体服务部署剧本(通用模板)h1
node {    def commitId    def outputFile
    stage('Checkout') {        // 从仓库拉取代码        git changelog: true,            branch: "${params.GIT_BRANCH}",            url: "https://gitlab.example.com/team/project.git"        commitId = sh(script: "git rev-parse --short HEAD", returnStdout: true).trim()        def currentTimestamp = new Date().format('yyyy-MM-dd_HH-mm-ss', TimeZone.getTimeZone('Asia/Shanghai'))        outputFile = "${params.DEPLOY_SERVER}-${BUILD_NUMBER}-${commitId}-${currentTimestamp}"    }
    stage('Build') {        // 编译打包        sh '''            export PATH=/opt/nodejs/bin:$PATH            npm install            npm run build        '''
        // 将构建产物打包为 tar 归档,便于传输        sh """            tar czf ${outputFile}.tar.gz dist/        """
        // 生成远程部署脚本(软链接切换)        sh """            cat > deploy.sh << 'EOF'#!/bin/bashRELEASE_DIR=/opt/releaseWEB_DIR=/opt/web/latestTARGET=\$1  # 接收 tar 包名(不含扩展名)tar xzf \${RELEASE_DIR}/\${TARGET}.tar.gz -C \${RELEASE_DIR}ln -sfn \${RELEASE_DIR}/\${TARGET} \${WEB_DIR}echo "Deployment done: \${TARGET}"EOF            chmod +x deploy.sh        """    }
    stage('Deploy') {        // 使用 SSH 密钥认证连接远程服务器        withCredentials([sshUserPrivateKey(            credentialsId: 'ssh-key',            keyFileVariable: 'SSH_KEY_FILE',            passphraseVariable: '',            usernameVariable: 'SSH_USER'        )]) {            def remote = [:]            remote.name = 'remote_server'            remote.host = "${params.DEPLOY_SERVER}"            remote.user = SSH_USER            remote.identityFile = SSH_KEY_FILE            remote.allowAnyHosts = true
            // 上传 tar 包到远程服务器            sshPut remote: remote,                   from: "${outputFile}.tar.gz",                   into: '/opt/release'
            // 生产环境二次确认            if ("${params.DEPLOY_SERVER}" == 'prod') {                input 'Are you sure you want to deploy to production?'            }
            // 执行远程部署脚本(传入包名前缀)            sshScript remote: remote,                      script: "deploy.sh '${outputFile}'"        }    }
    stage('Archive') {        // 归档构建产物        archiveArtifacts artifacts: "${outputFile}.tar.gz",                        fingerprint: true    }}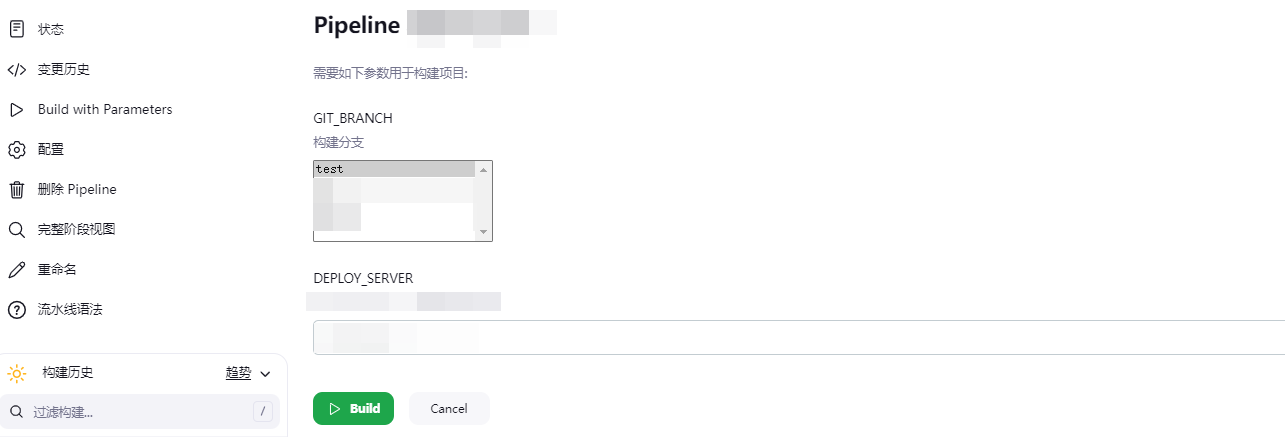
使用说明h3
- 参数:
GIT_BRANCH(分支名称)、DEPLOY_SERVER(目标服务器地址,如staging/prod) - 凭证:需提前在 Jenkins 中添加 SSH 密钥凭据,ID 为
ssh-key - 路径:
- 本地
node路径已脱敏为/opt/nodejs/bin - 远程部署路径统一为
/opt/release(存放版本包)和/opt/web/latest(软链指向当前版本)
- 本地
- 脱敏说明:仓库地址、示例域名、内部路径已替换为通用占位符,实际使用时请替换为真实值。